
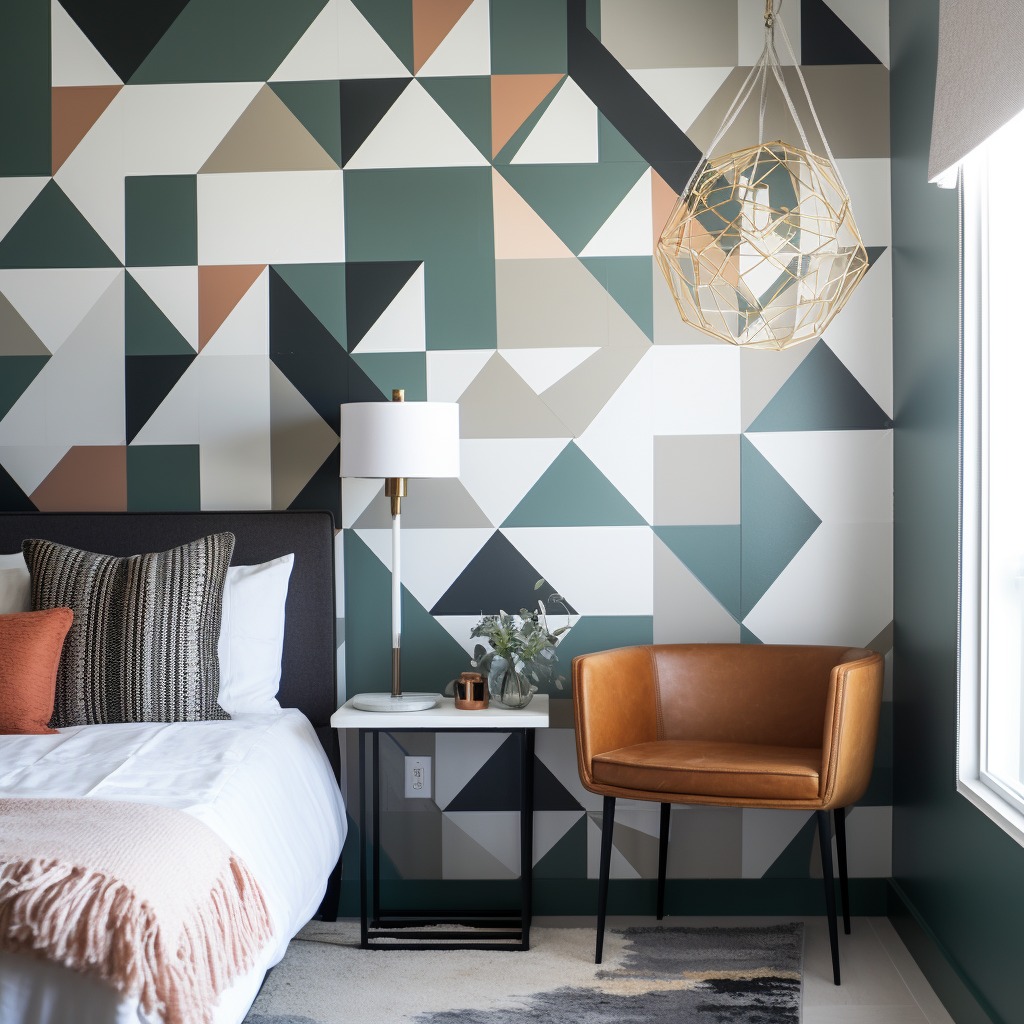
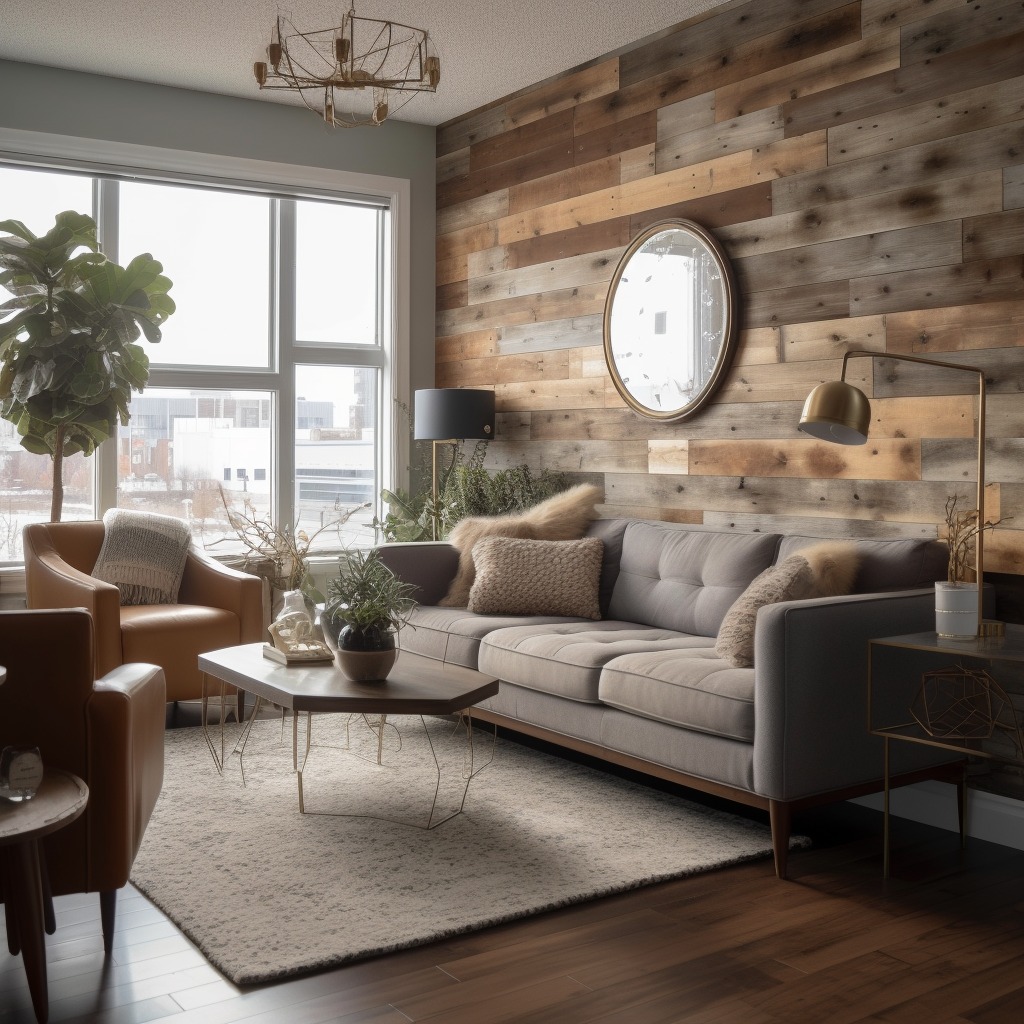
An accent wall can dramatically transform any room, adding visual interest and depth. In this step-by-step guide, we’ll show you how to create your own DIY accent wall for a stunning interior makeover. Let’s get started on this budget-friendly project that will make a big impact on your space!
Choose the Right Wall
Select the ideal wall for your accent wall. Consider a wall that’s visible from the entrance, a focal point in the room, or one that features architectural details like a fireplace or built-in shelving.
Determine the Design and Color
Decide on the design and color for your accent wall. Choose a bold, contrasting color, an eye-catching pattern, or a textured finish that complements the rest of the room’s decor.

Prepare Your Wall
Clean the wall thoroughly, removing any dirt, dust, and grease. Repair any holes or cracks and sand down any rough spots to ensure a smooth, even surface for painting or applying wallpaper.
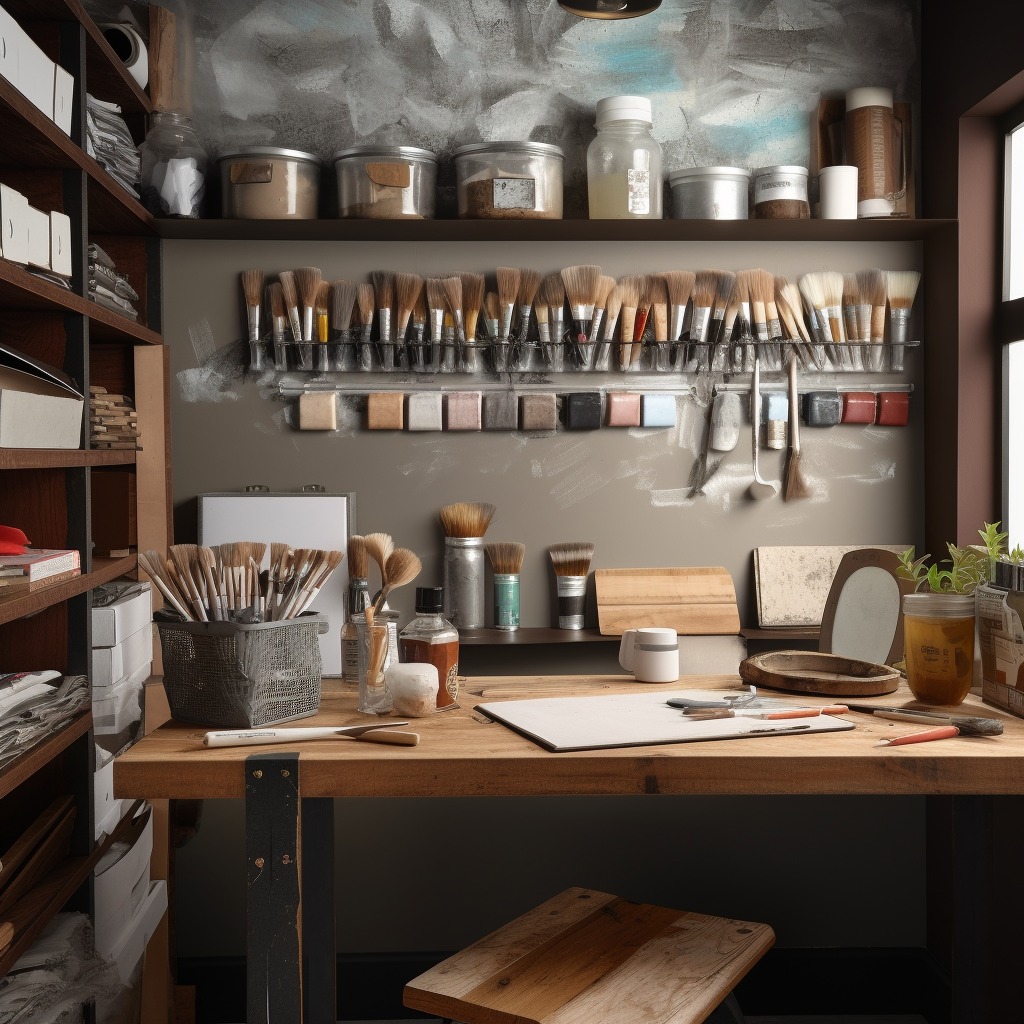
Gather Your Supplies
Collect the necessary supplies for your project, such as paint, wallpaper, brushes, rollers, tape, adhesive, a level, a measuring tape, and a drop cloth to protect your floors.
Apply Your Base Coat (If Necessary)
If you’re using a pattern or design that requires a base coat, apply it to the wall first. Allow it to dry completely before moving on to the next step.
Measure and Mark Your Design
Using a measuring tape and a level, carefully measure and mark your design on the wall. This step is crucial for achieving a professional-looking result, so take your time and be precise.
Apply Your Design
Depending on your chosen design, you’ll either paint, apply wallpaper, or use another technique to create your accent wall. Follow the manufacturer’s instructions or any specific tutorials for your chosen design method.
Allow the Wall to Dry
Allow your accent wall to dry completely according to the recommended drying time. This may vary depending on the materials used and the climate in your area.
Add Finishing Touches
After your accent wall is dry, add any finishing touches such as trim or molding to enhance the overall design. Be sure to touch up any imperfections or mistakes with a small brush and matching paint or wallpaper.
Clean Up and Admire Your Work
Clean up your workspace, remove any protective coverings, and step back to admire your stunning DIY accent wall. You’ve just transformed your room with a budget-friendly, high-impact makeover!
Building your own DIY accent wall is a simple and cost-effective way to give your interior a dramatic update. By following these step-by-step instructions, you’ll be able to create a stunning focal point in your room that adds depth, interest, and a touch of your personal style.